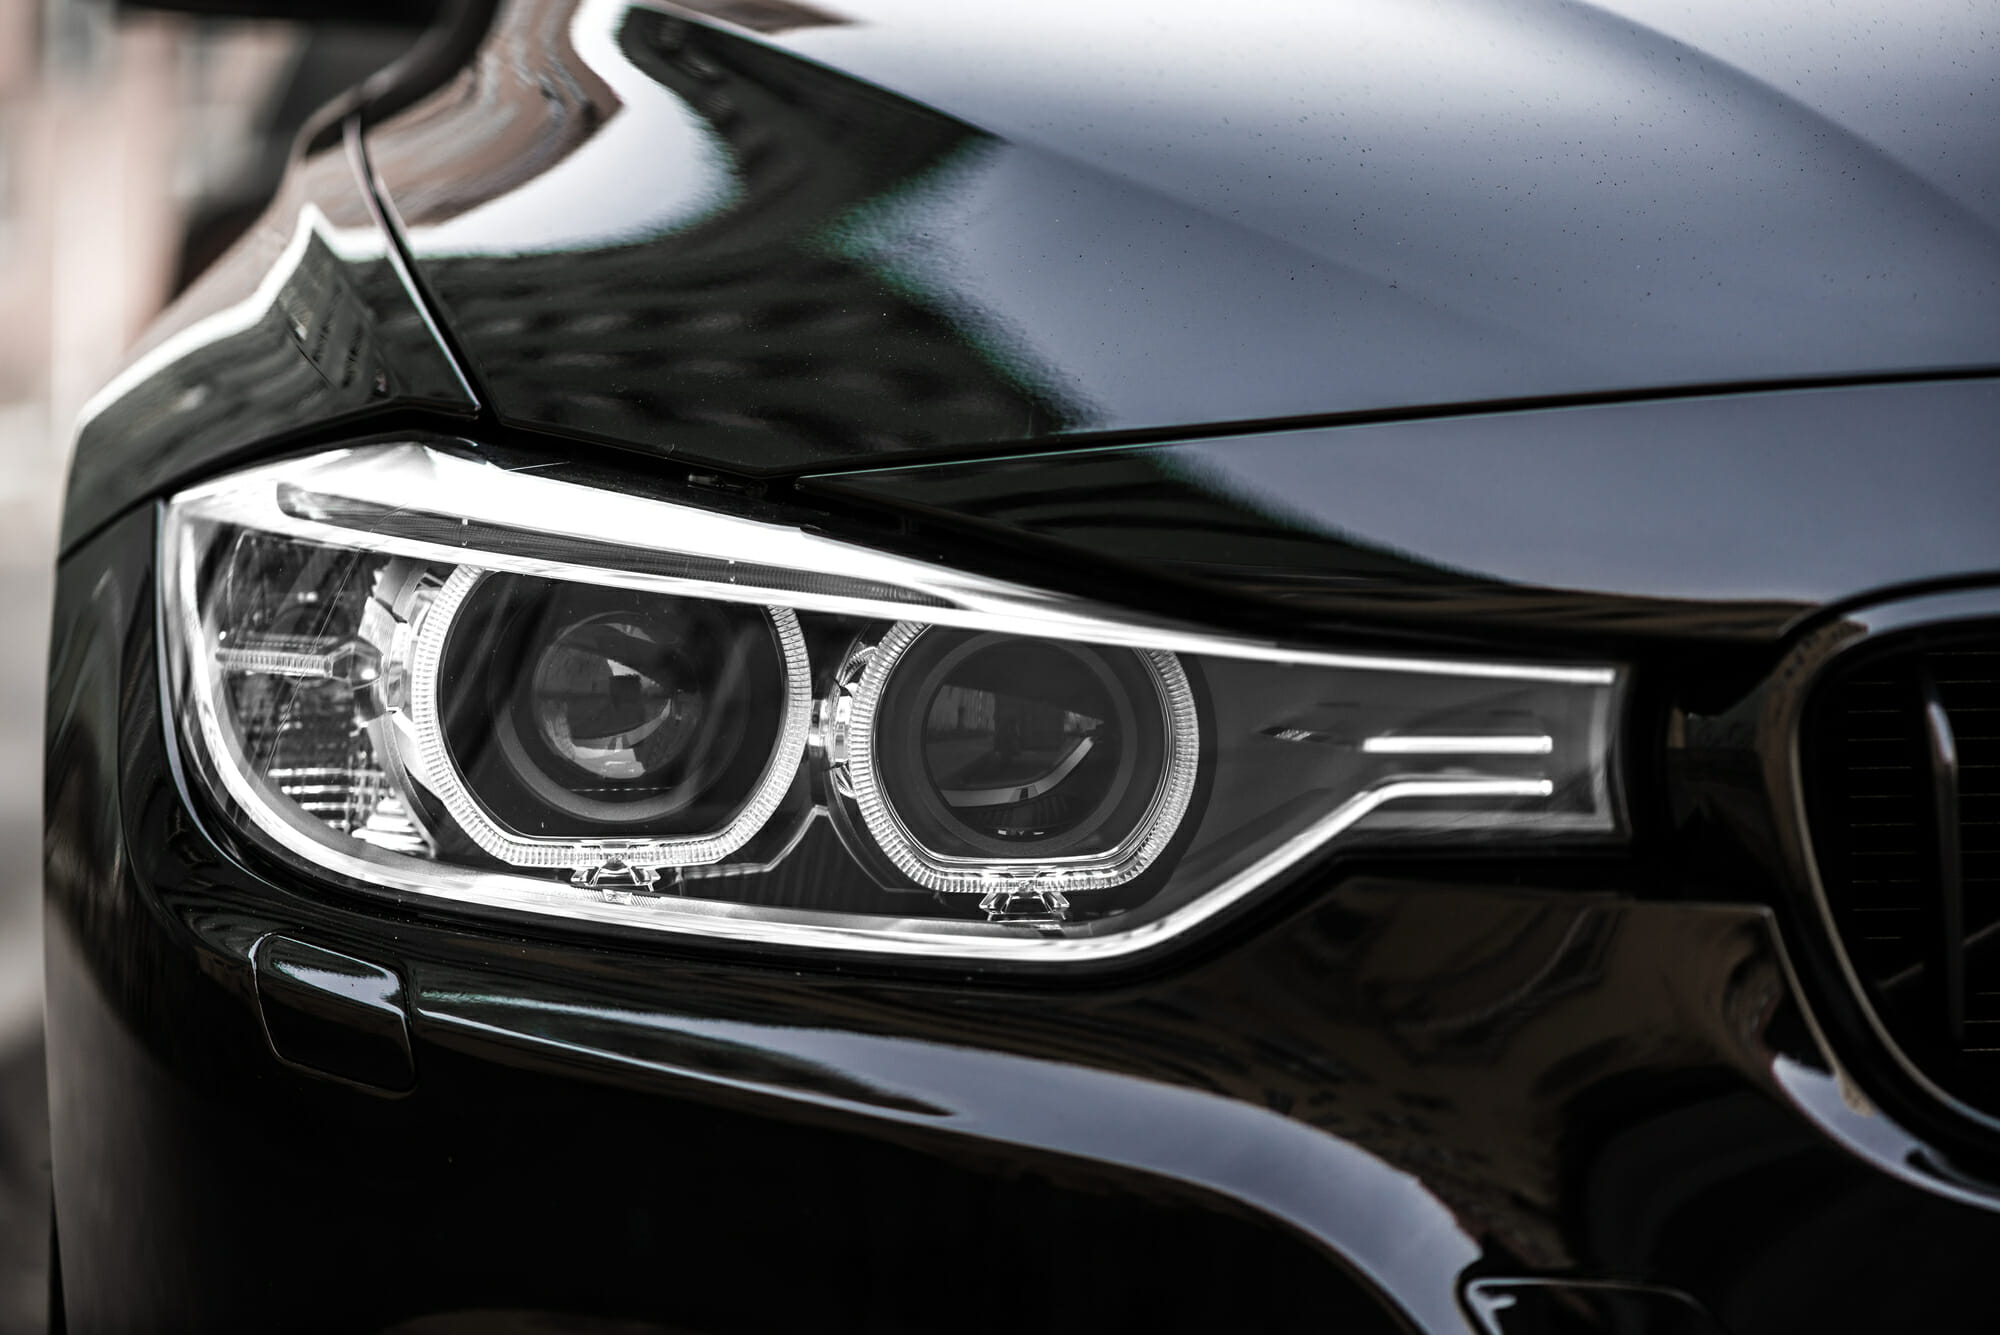
You take your car to the wash, and it’s like magic. The windshield, rims, and paint all look like they did the day you bought it… Except for the headlights. You can blast them all day with the high-pressure hose, but the grime just won’t come off – you need toothpaste.
Headlight restoration using toothpaste?
Yep, auto YouTuber ChrisFix shared this handy trick on YouTube.
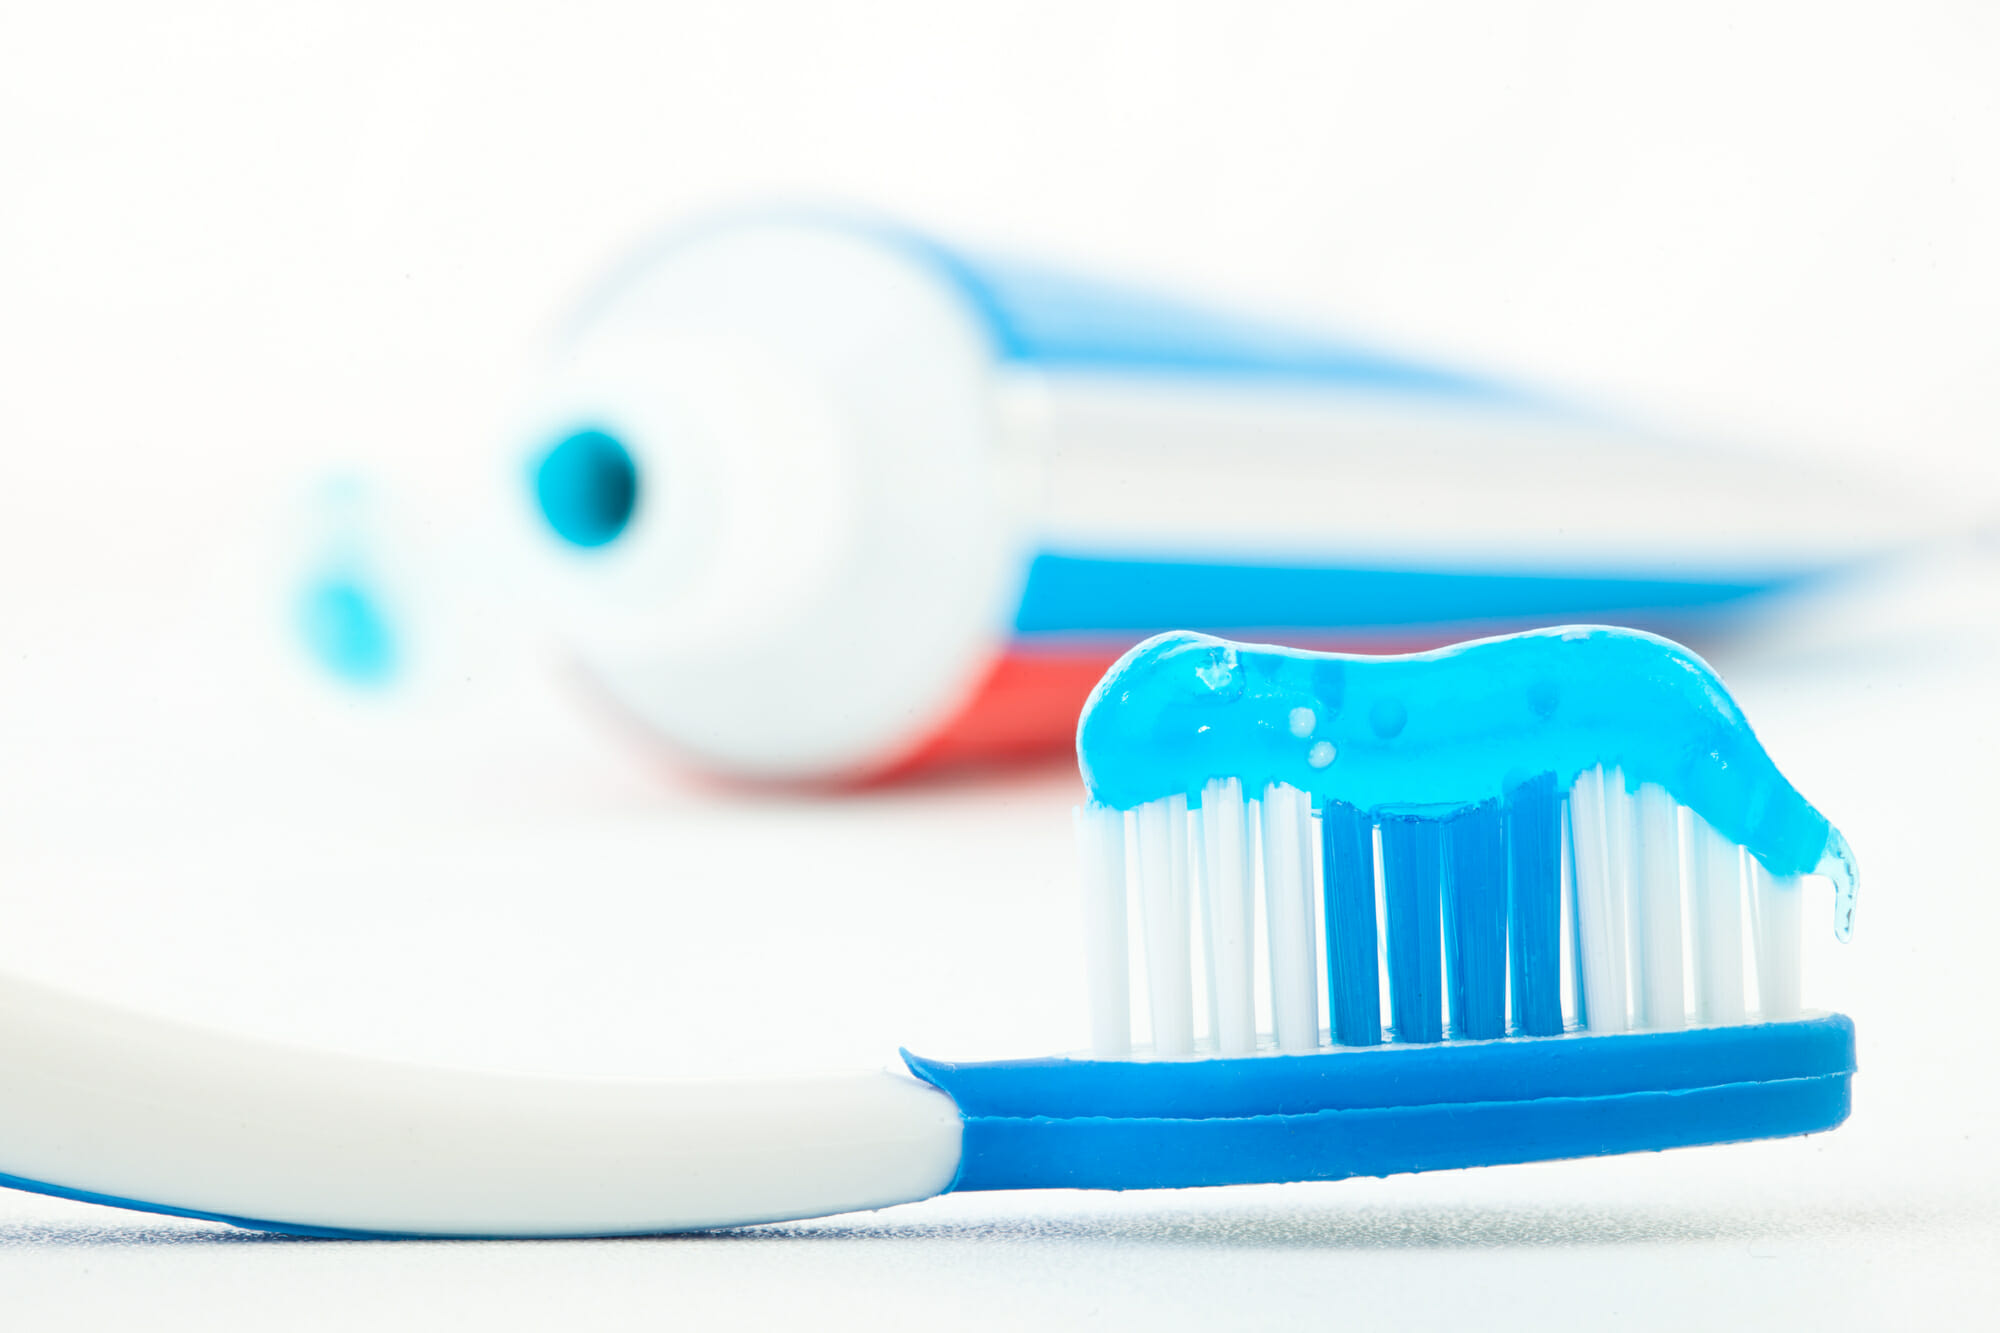
- Smear lens with a baking-soda-based toothpaste
- Use a toothbrush to scrub it
- Spray with warm water, wipe with paper towel
- Wipe dry with clean paper towel
- Use wax to prevent further buildup
If you have any questions, good news, ChrisFix has answers. Below we’ll get into how you can get the best results out of this fix, and why baking soda is such a magic ingredient when it comes to cleaning. Read on and find out.
Clean it, or Buy New Lenses?
On some headlights, you might not be able to get all of the yellow out. Rub your fingertips along the lens. If it’s smooth, then the yellowing is just the result of age. The protective layer on your lenses has worn off, and they’re being oxidized by sunlight.
The protective layer isn’t going to last forever. Acrylic headlight lenses are going to go permanently yellow over time. Our aim here is to make sure that that isn’t any time soon. But at a certain point it might just be time to replace the lenses.
To get the most out of your headlight lenses, make sure to park in the shade, and keep your lenses cleaned and waxed. They’ll probably go yellow someday, but that doesn’t have to be today.
We’re interested in this fix because the gunk builds up as moisture collects on your lenses and causes dirt and grime to cling to it. And the sooner you get that stuff off your lens, the less likely it’s going to cause any permanent damage.

Headlight Restoration Using Toothpaste: Getting the Best Results
For best results, you’re going to want to use circular motions. You’ve seen Karate Kid, right? Wax on, wax off. Even if you haven’t, ChrisFix shows what we’re talking about. Smooth, even circles.
Don’t be afraid to get your hands minty. You want to really rub it in there. As you’ll see in the video, the trick is to give it a full coating until you can’t even see the lens anymore.
With up-and-down or side-to-side motions you’re liable to scratch the surface and damage your lenses. Circular scrubbing, wiping and drying is easier on the acrylic.
Baking soda is the active ingredient in this fix. If you don’t have any toothpaste with baking soda in it, you can simply add some baking soda to whatever toothpaste you have on hand.
Baking soda works like a miracle cleaner in large part because it’s slightly abrasive. It’s actually a mild salt, it’s non-acidic, and it attacks grime like a super-fine sandpaper without damaging the surface of whatever you’re cleaning.

You could do this with baking soda and a bit of water if you don’t have any toothpaste on hand. But the toothpaste helps to form a thick paste that’s easier to smear, scrub, and wipe clean when you’re done.
As ChrisFix points out, you could use a Dremel tool with the buffer attachment. Just make sure to use it on the lowest setting. The highest setting is meant to be used on diamonds, not acrylic, and can melt a hole in your lens.
Finally: Don’t worry about hurting your lenses with your toothbrush. As long as you’re using circular motions, if you can trust it on your teeth, you can trust it on your lenses.
…Speaking of which, it might be a good idea to keep that toothbrush in your toolbox from now on to prevent mix-ups.
